Setup configuration of the DIRECTOR
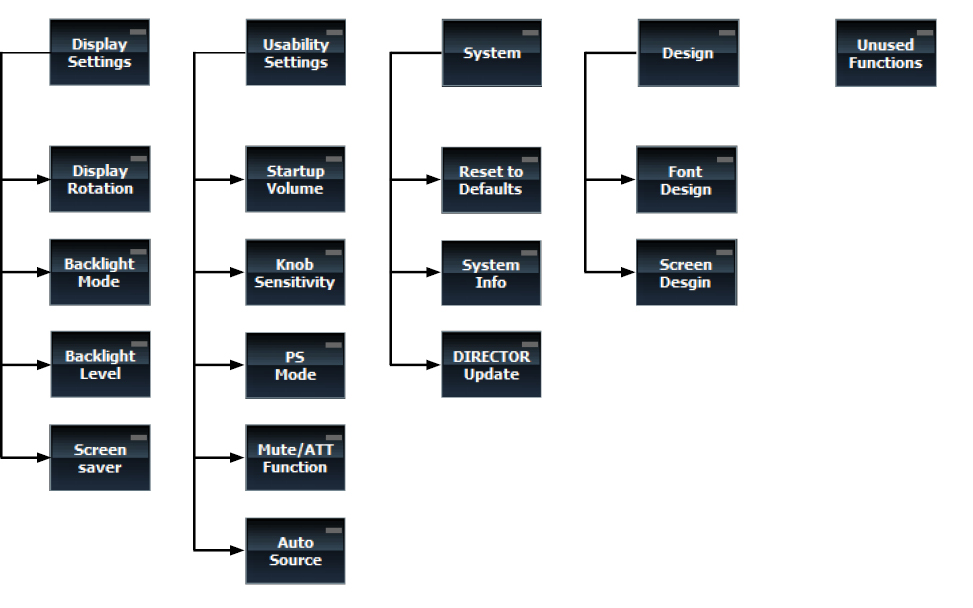
The menu structure
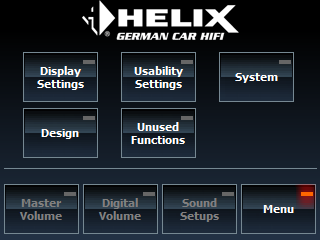
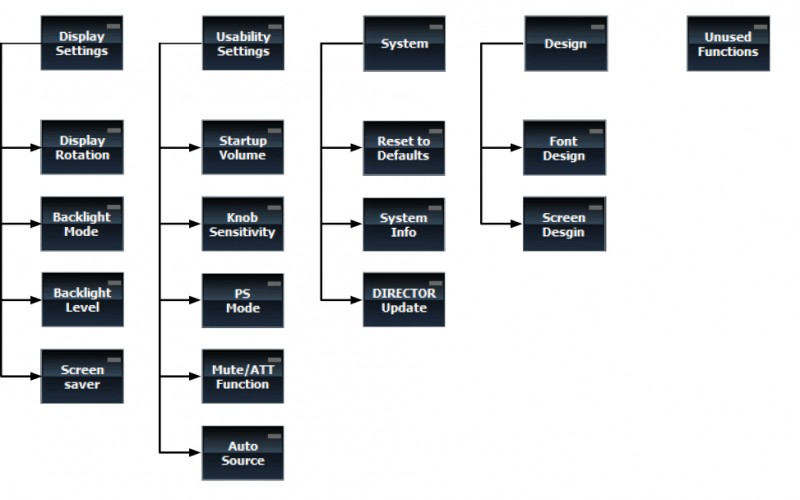
1. Display Settings
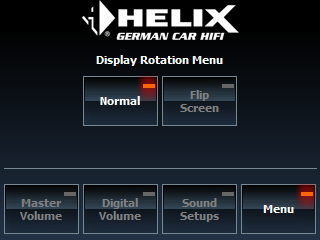
1.1 Display Rotation
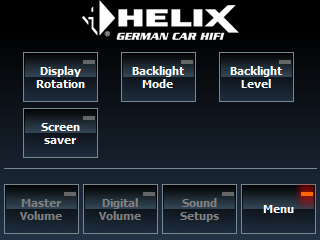
1.2 Backlight Mode
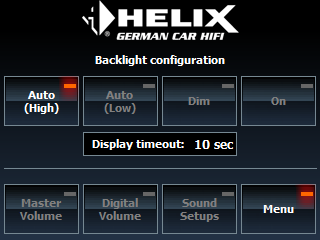
This menu is used to configure the backlight of the display individually. There are four options available:
- Auto (High): The backlight is automatically dimmed if a high level is detected at the illumination wire (8 - 18 V)
- Auto (Low): The backlight is automatically dimmed if a low level is detected at the illumination wire (GND / Ground)
- Dim: The backlight is dimmed permanently (set to the backlight dim level)
- On: The backlight is permanently set to full brightness
In addition a display timeout value can be adjusted between 0 and 60 seconds by using the control dial. The timeout is triggered if no user interactions are recognized for the adjusted time frame. In this case the display brightness is set to the backlight timeout level.
Note: The dim- and timeout brightness of the display can be individually adjusted in the Backlight Level menu.
1.3 Backlight Level
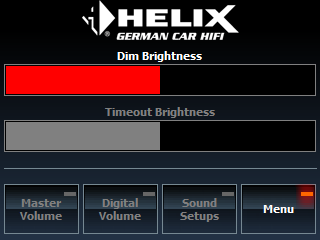
This menu is used to change the dim and timeout brightness by using the control dial. If the timeout brightness is set to “0” the display is completely turned off after the time is expired.
Note: The configuration of the dim and timeout function has to be adjusted in the Backlight Mode.
1.4 Screensaver
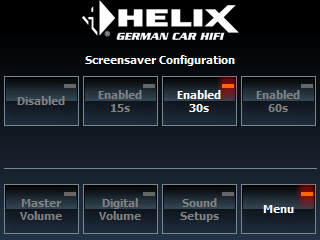
If the Screensaver function is activated, the display changes to the Voltage Monitor screen (see item 4.7) when the adjusted time (15, 30 or 60 Seconds) is expired.
Note: The Screensaver is only supported by devices that support the Voltage Monitor function.
2. Usability Settings
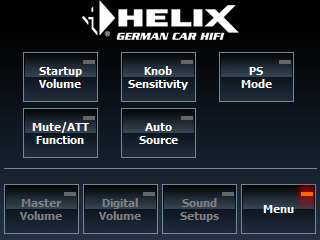
2.1 Startup Volume
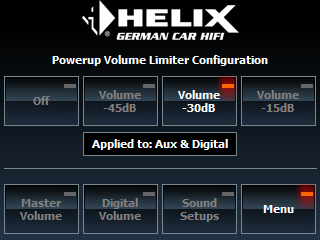
2.2 Knob Sensitivity
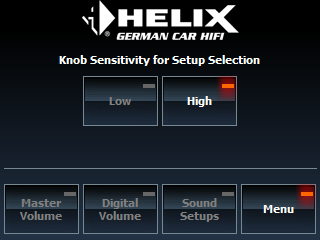
The Knob Sensitivity menu allows to change the sensitivity of the control dial in the Sound Setup menu.
There are two different options available:
- Low: To change the sound setup the control dial has to be rotated by 3 steps within a short time
- High: The sound setup changes by each step of the control dial
Note: This adjustment is only applied for the Sound Setup menu.
1. Display Settings
2. Usability Settings
3. System
4. Design
5. Unused Functions
2.3 PS Mode
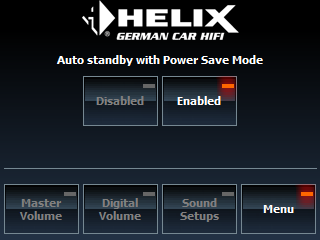
The DIRECTOR frequently checks the status of the Power Save Mode of the connected DSP device. If the auto standby option of this menu is enabled and the Power Save Mode is activated in the device, the DIRECTOR will be set automatically to standby mode and the display turned off. The DIRECTOR wakes up automatically if the Power Save Mode is deactivated or a user interaction is done.
Note: The DIRECTOR´s connection to the DSP remains active in standby mode.
2.4 Mute / ATT Function
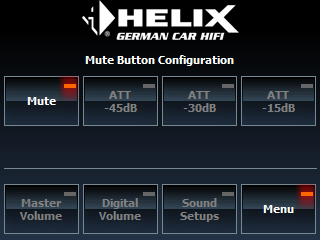
This menu allows to switch between Mute and ATT (attenuation) when the control dial is pushed. The ATT function can be set to three different values which specify the different sound attenuation levels.
Note: The ATT function always reduces the master volume by the adjusted value. Changing the volume while Mute/ATT is activated has no effect.
3. System
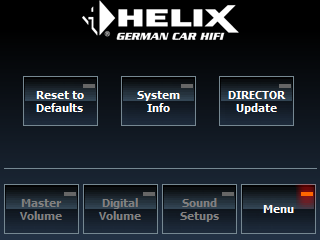
3.1 Reset to Defaults
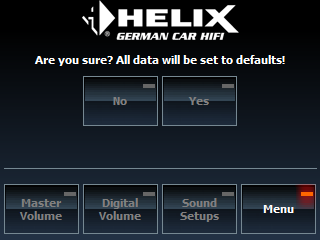
This menu is used to set the DIRECTOR back to default values.
Caution: The saved configuration and the internal DIRECTOR Sound Setups (No. 3- 22) will be erased after accepting the warning message by tapping on “Yes”!
Note: The reset may take a few minutes and the DIRECTOR will be restarted after this procedure.
3.2 System Info
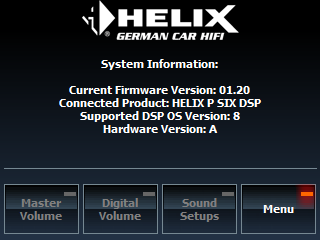
This menu shows all important system information of the DIRECTOR and the connected device.
- Current firmware version
- Connected device
- Supported DSP OS versions
- etc.
3.3 DIRECTOR Update
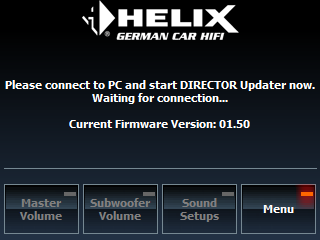
This menu activates the firmware update process of the DIRECTOR by using the DIRECTOR Updater software. Please note the instructions and advises for the update of the DIRECTOR firmware (see chapter 6, DIRECTOR update).
Note: This menu cannot be accessed during a DSP PC-Tool connection. If this screen is active a connection to the DSP PC-Tool is not possible.
5. Unused Functions
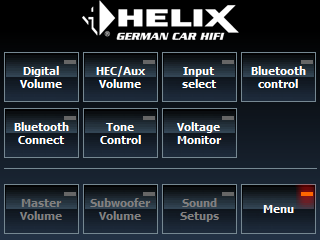
The Unused Function menu contains all unassigned soft keys that can be accessed in this menu.
Note: The available functions may vary on the supported products and the installed extensions (e.g. HEC BT)

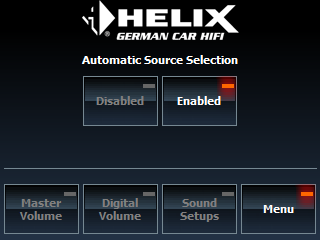
The Auto Source function changes the input source automatically depending on the selected volume page (Master, Subwoofer, HEC/MEC/AUX or Digital volume).
Example: The Digital volume activates automatically the digital input source.
2.5 Auto Source
4. Design
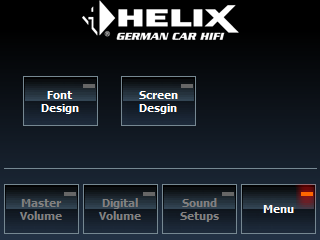
4.1 Front Design
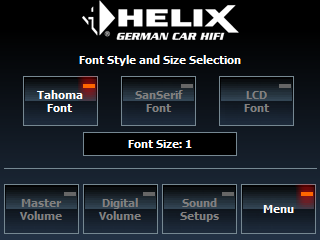
4.2 Screen Design
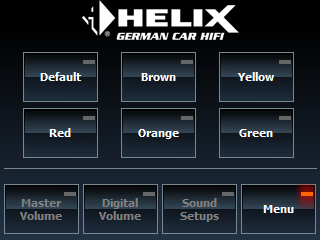
This menu is used to define the background color of the DIRECTOR´s user interface. There are six different colors selectable:
- Standard (Default)
- Brown
- Yellow
- Red
- Orange
- Green